
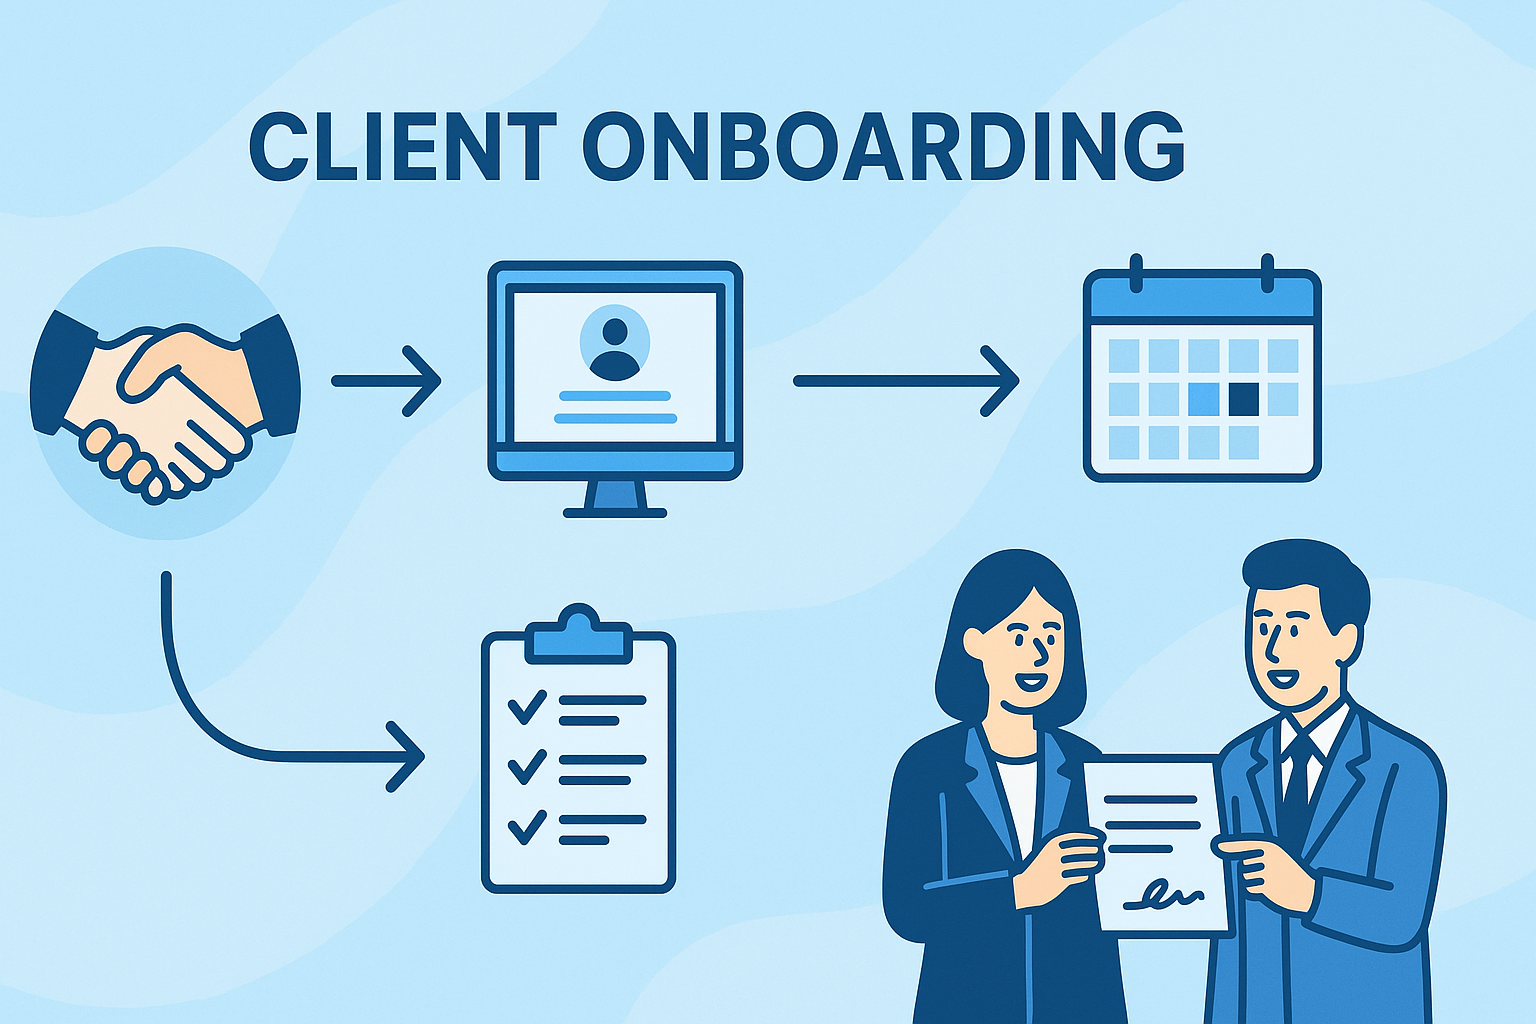
Effective Client Onboarding Process
Introduction
Onboarding a new client is more than just exchanging contracts and collecting payments—it’s the foundation for a successful, long-term partnership. A well-structured onboarding process ensures you and your client begin on the same page, understand objectives, and build trust from day one. In this blog post, we’ll walk through a step-by-step client onboarding framework, complete with the key questions you should ask at each stage. Whether you’re a freelancer, running a small agency, or scaling up, these guidelines will help you streamline communication, set clear expectations, and deliver results that delight your clients.
Step 1: Pre‐Onboarding Preparation
Before you dive into calls or send proposals, invest time in laying the groundwork. This stage involves clarifying your own services, defining your ideal client profile, and ensuring your internal processes are ready.
Define Your Service Offering
List every deliverable you offer (e.g., website design, SEO audit, content strategy).
Identify what’s included versus what’s considered an add‐on (e.g., two rounds of revisions vs. additional revisions at extra cost).
Document your pricing tiers and payment terms.
Create a Client Intake Form
Build a simple online form (Google Forms, Typeform, or your preferred tool) that captures essential information up front.
Typical fields:
Company/Brand Name
Contact Person (Name, Email, Phone)
Project Budget Range
Desired Start Date
Brief Description of Needs
Set Up Your Internal Systems
Decide which project management tool you’ll use (Trello, Asana, ClickUp, etc.).
Prepare a template for the Statement of Work (SOW) or proposal, including scope, timeline, deliverables, and payment schedule.
Create a folder structure (on Google Drive, Dropbox, or your own server) for each new client to store contracts, assets, and communications.
Clarify Your Ideal Client Profile
Jot down the traits of the clients you want most (e.g., industry, budget range, communication style, long‐term partnerships).
This helps you quickly decide whether a lead is a good fit during initial outreach.
Step 2: Initial Outreach and Discovery Call
Once you receive an inquiry (through email, form submission, or social media), you’ll move into the “Discovery” phase. The goal here is to learn enough about the prospect to determine whether you can help them—and to build rapport.
Respond Promptly
Aim to reply within 24 hours. A quick response shows professionalism and respect for their time.
Include a short “thank you” message and suggest scheduling a 30‐ to 45‐minute discovery call.
Send the Discovery Call Agenda
Before the call, email a brief agenda so the client knows what to expect. For example:
Quick Introductions (5 minutes)
Client’s Background & Goals (15 minutes)
Overview of Your Services & Methodology (10 minutes)
Budget, Timeline & Next Steps (10 minutes)
Key Questions to Ask During the Discovery Call
Background & Objectives
“Can you tell me about your company/brand and its mission?”
“What problem are you trying to solve or what goal are you aiming for?”
“How did you hear about us?”
Target Audience & Market
“Who is your primary target audience? Age, location, interests?”
“What pain points does that audience face today?”
Current Situation & Assets
“Do you have an existing website, social media channels, or marketing materials we should review?”
“What’s working well for you right now—and what isn’t?”
Success Metrics
“How will you measure success for this project? (E.g., increase in leads, sales, brand awareness.)”
“Are there specific KPIs you track monthly or quarterly?”
Budget & Timeline
“Do you have a budget range in mind?”
“When would you like to launch or see results?”
Decision‐Making & Stakeholders
“Who will be involved in approving the final deliverables?”
“Is there anyone else on your team we should include in communications?”
Listen Actively and Take Notes
Don’t just tick off questions—listen for underlying concerns (e.g., “We tried a website redesign last year and it flopped”).
Write down any specific jargon or brand values they mention; incorporating those into your proposal builds trust.
End with Next Steps
Summarize what you heard: “So, you need a new website that targets urban millennials and improves your lead capture by 20% in the next 6 months, correct?”
Explain your process: “I’ll draft a proposal by [date], including scope, timeline, and pricing. Once you review and approve, we can kick off.”
Step 3: Proposal & Statement of Work
A clear, well‐structured proposal gives the client confidence that you understand their needs. It’s also where you define deliverables, timelines, and costs.
Structure of a Strong Proposal
Cover Letter or Introduction
One‐paragraph recap of what you discussed and your excitement for the project.
Client Objectives & Scope
Restate the client’s goals in bullet points.
Example:
Redesign website to match new branding.
Improve mobile responsiveness and page speed.
Integrate lead‐generation forms that sync with CRM.
Deliverables & Timeline
Break down each phase (e.g., research, wireframes, design, development, testing).
Assign estimated durations (e.g., “Research & Strategy: 1 week,” “Design Mockups: 2 weeks,” etc.).
Investment & Payment Terms
Provide a clear line‐item estimate (e.g., “Home Page Design: ₹15,000”).
State payment milestones (e.g., 50% upfront, 25% at design approval, 25% at launch).
Revision Policy & Additional Fees
Define how many rounds of revisions are included.
Specify hourly rates for out‐of‐scope requests or extra revisions.
Terms & Conditions
Include basic clauses on confidentiality, intellectual property rights, termination, and liabilities.
Call to Action
Close by asking for written approval (e.g., “Please sign and return by [date] to reserve your project slot.”).
Common Questions to Clarify in the Proposal
“Is there any specific brand guideline or style guide we should follow?”
“Do you already have high‐resolution images and copy, or will you need those created?”
“Will you be handling domain and hosting, or should we manage that?”
“Which CRM or email marketing tool does your team currently use for lead capture?”
Follow Up
If you haven’t heard back within 3 business days, send a polite reminder:
“Hey [Name], just checking in to see if you had any questions about the proposal I sent over on [date]. I’m happy to hop on another call to discuss.”
Step 4: Contract Signing & Kickoff
Once the client approves your proposal, transition smoothly into execution by formalizing the agreement and scheduling a kickoff meeting.
Finalize the Contract
Convert the proposal into a formal contract (you can use e-signature tools like DocuSign or HelloSign).
Ensure you cover:
Scope of Work (copy from the proposal)
Payment Schedule & Late Payment Penalties
Confidentiality & Non‐Disclosure (if needed)
Intellectual Property Ownership (e.g., “Upon final payment, all design files become your property.”)
Termination Clause (e.g., “Either party may terminate with 14 days’ notice; fees for work completed to date are non‐refundable.”)
Collect Initial Payment
Issue an invoice immediately after contract signing (if your policy requires upfront payment).
Use online payment gateways (PayPal, Razorpay, UPI) for convenience.
Schedule a Project Kickoff Meeting
Aim to hold this within one week of contract signing.
Send a calendar invite with:
Project Kickoff Agenda (e.g., Introductions, Confirm Objectives, Review Timeline, Assign Tasks, Next Steps)
List of Attendees (e.g., client stakeholders, your project manager, designer, or developer).
Step 5: Discovery & Information Gathering
In the kickoff phase, your objective is to collect every piece of information, access, and asset required to start work without delays.
Kickoff Meeting Key Questions
Clarify Brand Identity & Voice
“Can you share any brand guidelines, color palettes, fonts, or logo files?”
“What tone do you want to convey (professional, playful, luxury, etc.)?”
Review Current Assets
“Do you have existing copy for the website, or should we arrange a copywriter?”
“Where are your social profiles, Google Analytics account, or any existing marketing materials?”
Technical & Access Requirements
“Who will provide website hosting credentials or server access?”
“Can you grant us access to Google Analytics, Search Console, and any social media accounts?”
Approval & Feedback Process
“Which communication channel do you prefer for daily updates? Slack, email, WhatsApp?”
“Who is authorized to give design/content approvals? Should we loop in anyone else (marketing manager, CEO) at specific milestones?”
Timeline & Milestones
“Is there any hard launch date (e.g., a product release or event) that we need to work backward from?”
Potential Roadblocks
“Do you anticipate any internal reviews or legal checks that might slow down approvals?”
Information Request Checklist
Brand Assets: Logos (vector formats), color codes, fonts, image libraries
Content: Draft copy, blog posts, product descriptions, testimonials
Access Credentials: Domain registrar, hosting control panel, CMS
Third‐Party Integrations: CRM login, payment gateways, email marketing account
Legal: NDA, brand usage permissions (if featuring third‐party content)
Step 6: Project Planning & Documentation
With all information in hand, it’s time to map out the project in detail and keep the client in the loop at every step.
Develop a Project Plan
Create a Task Breakdown
Use your project management tool to list every task, assign owners, and set deadlines.
Example tasks for a website redesign:
Research & Discovery
Sitemap & Wireframes
Design Mockups (Home, Inner Pages)
Client Feedback Round 1
Revisions
Development & Coding
QA Testing
Final Launch & Handover
Set Milestones
Mark major milestones (e.g., “Wireframes Approved,” “Design Approved,” “Beta Site Live”) with clear dates.
Assign Responsibilities
Clarify who does what—e.g., “Designer: Create mockups by May 10,” “Client: Provide content by May 5.”
Share the Project Plan with the Client
Export the relevant Gantt chart or task board view and send it as a PDF or viewable link.
Walk through the timeline in a short email or follow‐up meeting:
“Here’s our plan from start to finish. Notice that we’ll need your final copy by [date] to hit our launch deadline of June 15.”
Set Up Regular Check‐Ins
Agree on a communication cadence—weekly calls, status emails, or quick Slack updates.
Example: “Every Friday by 5 PM IST, I’ll send you a brief progress report highlighting completed tasks, upcoming tasks, and any blockers.”
Step 7: Execution & Continuous Feedback
During execution, maintain transparency and keep the client engaged so they feel part of the process.
Design & Development Phase
Design Stage
Present initial design mockups—explain your rationale (e.g., “We chose a minimal color palette to align with your brand’s luxury image”).
Ask for consolidated feedback (e.g., “Please send feedback on both homepage and about page together by [date]”).
Development Stage
Share staging site URLs for real‐time review.
Test functionality (forms, navigation, mobile responsiveness) with the client.
Content Integration
Upload final copy, images, and meta tags.
Confirm all links work correctly and that SEO basics (page titles, descriptions) are in place.
Solicit Feedback Efficiently
Use numbered comments or margin notes on design files (e.g., “#3 – The hero image feels too dark; can we try a lighter version?”).
Provide a single consolidated feedback form or spreadsheet to avoid scattered emails:
Page/Section Issue/Request Priority (Low/Med/High) Client Comments Homepage Hero Change CTA text to “Get Started Now” High Prefer red button About Section Add 2–3 team member bios Medium I’ll send headshots Contact Form Replace default “Submit” with “Let’s Talk” button text Low Fonts seems small
Track & Address Blockers Immediately
If the client misses a feedback deadline, send a friendly reminder:
“Hey [Name], I noticed feedback on the design hasn’t come in yet. We’re on track to finish by [date], but I need your input on the homepage mockup. Can you share comments by EOD tomorrow?”
Step 8: Quality Assurance & Final Review
Before you declare the project “complete,” perform thorough QA and get final sign‐off.
Internal Quality Assurance Checklist
Functionality: Every link, form, and button works as intended.
Responsiveness: Site displays correctly on desktop, tablet, and mobile.
Performance: Page speed is within acceptable range (e.g., under 3 seconds).
SEO Basics: Meta titles, descriptions, alt tags, and sitemap in place.
Accessibility: Contrast ratios, alt text for images, and keyboard navigation checks.
Client’s Final Review
Provide a “Launch Checklist” to the client so they know exactly what to test. Example items:
Review contact form by submitting a test inquiry.
Check all external links (social profiles, payment gateways).
Proofread every page for typos.
Ask final sign‐off questions:
“Is everything functioning as per your requirements?”
“Do you have any last minute changes or remarks?”
“Can we proceed with the scheduled launch on [date]?”
Confirm Launch Date & Process
Coordinate with the client’s hosting provider or IT team if needed.
Schedule DNS changes, SSL certificate installation, or any server migrations off‐peak hours.
Step 9: Post‐Launch Handoff & Training
After “going live,” your role shifts toward empowering the client to manage their new assets.
Deliver All Access Credentials
Provide a secure document listing:
CMS login (username/password)
Hosting control panel credentials
Google Analytics & Search Console access
Any third‐party tool logins (CRM, email marketing platform)
Conduct a Training Session
Host a 60–90 minute screen-share walkthrough:
How to update content or add a new blog post.
How to navigate the CMS dashboard.
Where to download backups or update plugins.
Share Documentation & Best Practices
Provide a PDF or Google Doc guide covering:
Step-by-step instructions for common tasks (e.g., “How to Change Homepage Banner”).
Recommended maintenance schedule (e.g., “Update plugins monthly, check for broken links quarterly”).
Tips for optimizing images, writing SEO-friendly copy, and troubleshooting common issues.
Offer Continued Support Options
Present your maintenance package (e.g., “₹5,000/month for 2 hours of updates, security checks, and backups”).
Outline your retainer or hourly rates if they need extra features down the line.
Attach a simple “Support Request Form” they can use to submit tickets.
Step 10: Nurture the Relationship & Gather Feedback
A successful onboarding doesn’t end at launch—fostering a long-term relationship can lead to upsells, referrals, and case studies.
Schedule a 30-Day Check‐In
Email or call to ask how the site is performing:
“Is everything running smoothly?”
“Have you noticed any dips in traffic or quick wins in engagement?”
Use this opportunity to suggest minor improvements (e.g., “Consider adding a blog section to boost SEO.”).
Request a Testimonial or Case Study
If the client is happy, ask for a short quote describing their experience:
“Working with [Your Name/Company] was a game changer. They delivered exactly what we wanted, on time and on budget!”
With permission, turn that into a case study on your website.
Upsell & Cross-Sell Services
Based on their needs and your observation, recommend additional services:
“I noticed your social media engagement could be higher—would you like a month of curated posts?”
“We can run A/B tests on your landing pages to improve conversions. Interested?”
Automate Feedback & Reviews
Use a simple Google Form or Typeform to collect structured feedback:
Question Response Overall satisfaction (1–5) [Dropdown: 1, 2, 3, 4, 5] What did you like most about the process? [Long text] What could we improve for future projects? [Long text] Would you refer us to colleagues or friends? [Yes/No]
Conclusion
A thorough client onboarding process sets clear expectations, fosters trust, and minimizes misunderstandings. By following these ten steps—preparing your internal processes, conducting discovery calls with focused questions, drafting a comprehensive proposal, signing contracts, gathering information, meticulously planning, executing with continuous feedback, ensuring rigorous QA, providing a smooth handoff, and nurturing the relationship—you’ll create a repeatable framework that boosts client satisfaction and paves the way for long-term partnerships.
Remember: every client is unique. Use the questions and templates above as a starting point, and tailor them to your industry, niche, and communication style. Over time, refine your process based on feedback and what works best for both you and your clients. A seamless onboarding experience not only saves you headaches down the line but also makes clients feel confident, respected, and excited to work with you.
